MONITORING MODE
|
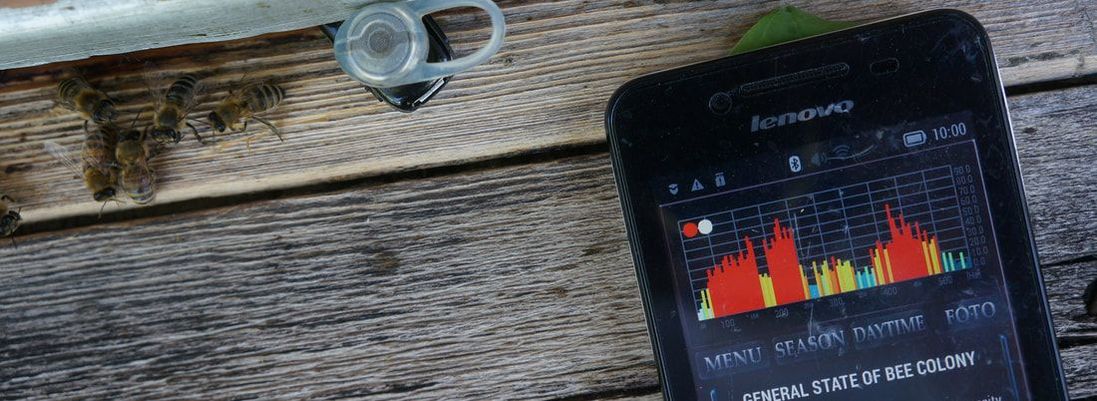
The Monitoring Mode shows the presence of signals and is primarily used to check that the device hear the bees well. Turn on the MIC switch and turn the knob to adjust the gain so that you could clearly see the signals of the bees. Signal peaks should be about two-thirds of the height of the graphics screen. Their shape and characteristic pulsation will show you that these are signals from bees, and not any interference.
Look at the top right corner of the screen to verify the quality of the signals. If you see a green icon, then the signals of the bees are heard well and you can diagnose. If the icon is yellow, then the audibility of the bee signals is not very good, but you can still work. If the icon is red, then it is worth changing the place from which the control is made and finding another place closer to the bees. Especially often this is necessary in winter, when the bees are very quiet. Usually, the best place to control is the top of the frame covered with an NON-TRANSPARENT canvas. The closer the lines to red color, the greater the amplitude of the peaks at a given frequency. A blue background means the minimum signal level is close to zero. After these settings, you can work in the Sonogram mode. You can switch to this mode by swiping over the window with a graphical display of signals from right to left or from left to right. |
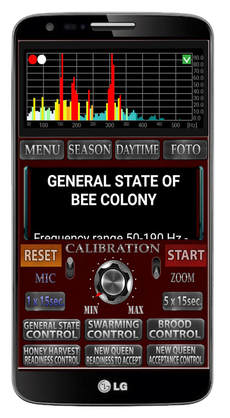
Screen – BAR CHART.
General condition of the bee colony
While in the Monitoring mode, you can select any other specialized mode. First of all, you can control the general condition of the family. Then, you can use other specialized modes - control of swarming, control of readiness for honey collection, control of brood, and modes for working with the queen. To do this, you need to press the corresponding mode selection button.
To start working in General State Control mode, select the current season, the duration of the delay in the start of measurement and press the START button, after that, after the delay time you have set, the device will start monitoring. During this time, it must be placed either in the hive entrance or on the frames, covered with an opaque canvas. After completing the control, you will hear a beep and see the diagnostics of the bee state in the text window. At this time, you can make a screenshot of the screen with the PHOTO button. Previously, you can give a name to a group of screenshots by typing their name. This can be done by making a long press on the PHOTO button. Next, you can specify the name of the file group. To set a new name, repeat all this again.
After finishing reading the diagnostic message, press the RESET button and the instrument will be ready to make a new test in General State Control mode. To switch to another mode, press the current mode button again and it will go out. After that, you can select any other mode
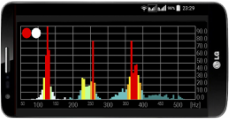
Screen - SONOGRAM.
General condition of the bee colony
DIAGNOSTIC METHOD
The Monitoring option in the Sonogram mode helps to see the stability or, on the contrary, the instability of the signals of bees in all ranges. Using this mode is good to observe behind the main signals, since the screen displays everything that happened during the last one and a half minutes. The formed clear lines indicate the trend of the state despite the interferences of any strength and duration. The closer the lines are to red color, the greater the amplitude of the peaks at a given frequency. A blue background means the minimum signal level. Do not stay in the Sonogram mode if you want to switch to other modes.
Return to the Monitoring mode by swiping from left to right on the the graph screen again.
Before entering this mode in the bar graph mode, adjust the gain so that the signal peaks are near the top of the graphics screen. The gain settings are not convenient to carry out in sonogram mode.
|
|
|
|
